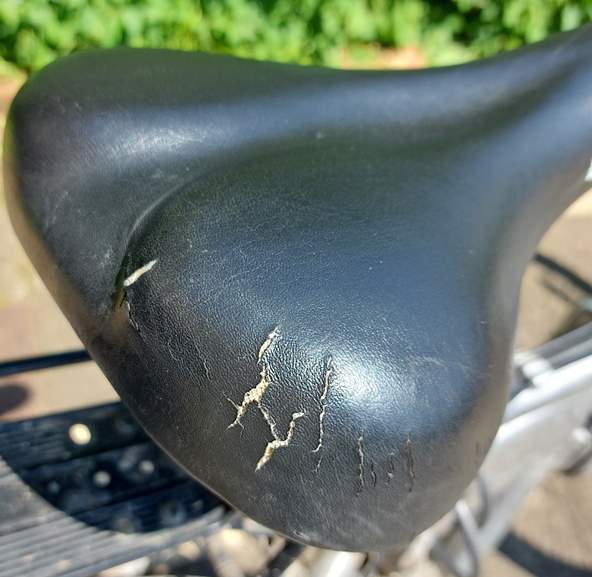
How to Fix Bike Seat Cover: torn, peeling, or just looking worn out? You’re not alone—this is a common problem that can make your rides uncomfortable and less enjoyable.
But here’s the good news: you don’t have to buy a new seat or spend a fortune at the bike shop. With a few simple tools and some easy steps, you can fix your bike seat cover yourself and get back to riding in comfort.
Whether it’s a small rip or a major tear, this guide will walk you through quick fixes and full re-cover options that anyone can do. Ready to learn how to restore your bike seat cover and save money? Let’s dive in!
Tools And Materials
Fixing a bike seat cover requires specific tools and materials. Choosing the right supplies makes the repair easier and longer-lasting. Below are essential items you need to gather before starting your project.
Adhesives And Glues
Strong adhesives hold torn bike seat covers together. Flexible glues like Sugru or Nitsu mold easily to fill small holes. Spray adhesives help bond larger surfaces quickly. Contact cement works best for re-covering seats. It creates a durable, waterproof seal that lasts through wear and weather.
Covering Materials
New seat covers come in vinyl, leather, or synthetic fabrics. Vinyl is affordable and water-resistant. Leather offers a classic look but needs more care. Synthetic fabrics can be stretchy and tough. Choose a material that matches your bike style and comfort needs. Make sure it is thick enough to protect the foam underneath.
Repair Tools
Basic tools speed up the repair process. Scissors or a sharp knife cut new covers to size. Staple guns or upholstery tacks secure the cover to the seat base. Sandpaper smooths rough edges of patches. Cleaning supplies remove dirt and oils before applying adhesives. A ruler or measuring tape helps get accurate cover dimensions.

Fixing Small Rips
Small rips in a bike seat cover can get worse if not fixed quickly. Repairing these tears helps keep your seat comfortable and dry. The process involves cleaning, applying glue or adhesive, and sealing the patch. These simple steps restore the seat cover’s look and strength.
Cleaning The Damaged Area
Start by cleaning the rip and the area around it. Use mild soap and water to remove dirt and oils. Dry the spot completely with a cloth. A clean surface helps the glue stick better. Avoid harsh chemicals that can damage the seat material.
Applying Flexible Glue
Choose a flexible glue made for vinyl or leather. Moldable glues like Sugru or Nitsu work well for small tears. Knead the glue until soft, then press it firmly into the rip. Smooth the edges with a wet finger or tool. Let it dry for several hours to bond fully.
Using Spray Adhesive And Tape
For small rips that need extra hold, spray adhesive works well. Spray a small amount on a piece of paper or plate. Dip a cotton swab and apply it inside the tear carefully. Place tape in a cross pattern over the rip to keep edges tight. Let the adhesive dry before removing the tape.
Sanding And Sealing
After the glue dries, lightly sand the repaired area with fine sandpaper. This makes the patch smooth and even. Apply a sealant like a clear paint marker or leather lotion. The sealant protects the patch and blends it with the seat color. Allow the sealant to dry fully before using the bike.
Repairing Large Tears
Repairing large tears in a bike seat cover requires patience and the right steps. Large damages cannot be fixed with simple glue or tape. You need to remove the old cover, check the foam, and add a new cover properly. This process helps your seat look good and last longer.
Removing Old Cover
Start by turning the seat upside down. Use a flat screwdriver to remove all staples or clips holding the old cover. Peel the cover off slowly to avoid tearing the foam underneath. Clean the seat base and foam from any leftover glue or debris. This creates a smooth surface for the new cover.
Assessing And Fixing Foam
Check the foam for any cracks or holes. Small holes can be filled with foam adhesive or spray foam. For large damaged areas, replace the foam with new closed-cell foam. Cut the foam to match the seat shape. Attach it firmly to the seat base using spray adhesive or glue. Let it dry completely before continuing.
Cutting New Cover Material
Use the old cover as a pattern to cut the new material. Vinyl or leather works best for durability. Leave extra material around the edges for stapling. Cut carefully to avoid jagged edges. Smooth, even cuts help the cover stretch nicely over the foam.
Applying Contact Cement
Apply contact cement to both the seat foam and the backside of the new cover. Use a brush for an even coat. Wait for the glue to become tacky, about 5 to 10 minutes. Press the cover onto the foam, starting from the center and moving outwards. This prevents wrinkles and bubbles.
Stapling And Trimming
Flip the seat over and pull the cover tight. Staple the material to the seat base, starting from the center and working to the edges. Use a staple gun with enough pressure to hold the cover firmly. Trim any extra material close to the staples for a neat finish. Check the cover for smoothness and adjust if needed.
Handling Plastic Shell Cracks
Cracks in the plastic shell of a bike seat can weaken its structure and cause discomfort. Handling these cracks properly extends the seat’s life and improves riding comfort. Fixing plastic shell cracks requires careful techniques to restore strength and prevent further damage. Two effective methods are plastic welding and reinforcing cracks with staples. Each method offers a durable fix depending on the crack size and location.
Using Plastic Welding
Plastic welding fuses the cracked parts together for a strong, seamless repair. It involves heating the plastic edges until they melt and then pressing them to bond. Use a plastic welding kit or a soldering iron with a plastic welding tip for this task. Clean the cracked area first to remove dirt and grease. Slowly heat the crack edges, avoiding overheating to prevent new damage.
After melting, press the edges firmly together and hold until they cool. For added strength, melt a plastic filler rod along the crack line. Let the welded area cool completely before testing the seat. Plastic welding works best on clean, straight cracks in rigid plastic shells.
Reinforcing Cracks With Staples
Stapling is a simple way to hold cracked plastic together quickly. Use heavy-duty staples designed for plastic or metal. Clean the cracked surface and align the edges carefully. Place staples across the crack at regular intervals to secure the shell. Push staples deep enough to hold but avoid breaking the plastic further.
For extra support, add a strong adhesive or epoxy along the crack before stapling. This fills gaps and bonds the plastic better. After stapling, sand any sharp staple ends inside the seat to prevent injury. Stapling suits larger or irregular cracks where welding might be difficult or unsafe.
Quick Temporary Fixes
Quick temporary fixes for a damaged bike seat cover save time and keep you riding comfortably. These solutions are simple and use materials you might already have. They help protect the seat from further damage until you can do a full repair or replacement.
Applying Hockey Tape
Hockey tape is a strong, flexible tape that sticks well to most surfaces. Clean the torn area of the seat before applying the tape. Cut a piece large enough to cover the damage and wrap it tightly around the seat. Overlap the edges to seal any gaps. This tape protects the seat from water and dirt. It also adds some grip for better comfort. Replace the tape as needed to keep the seat covered.
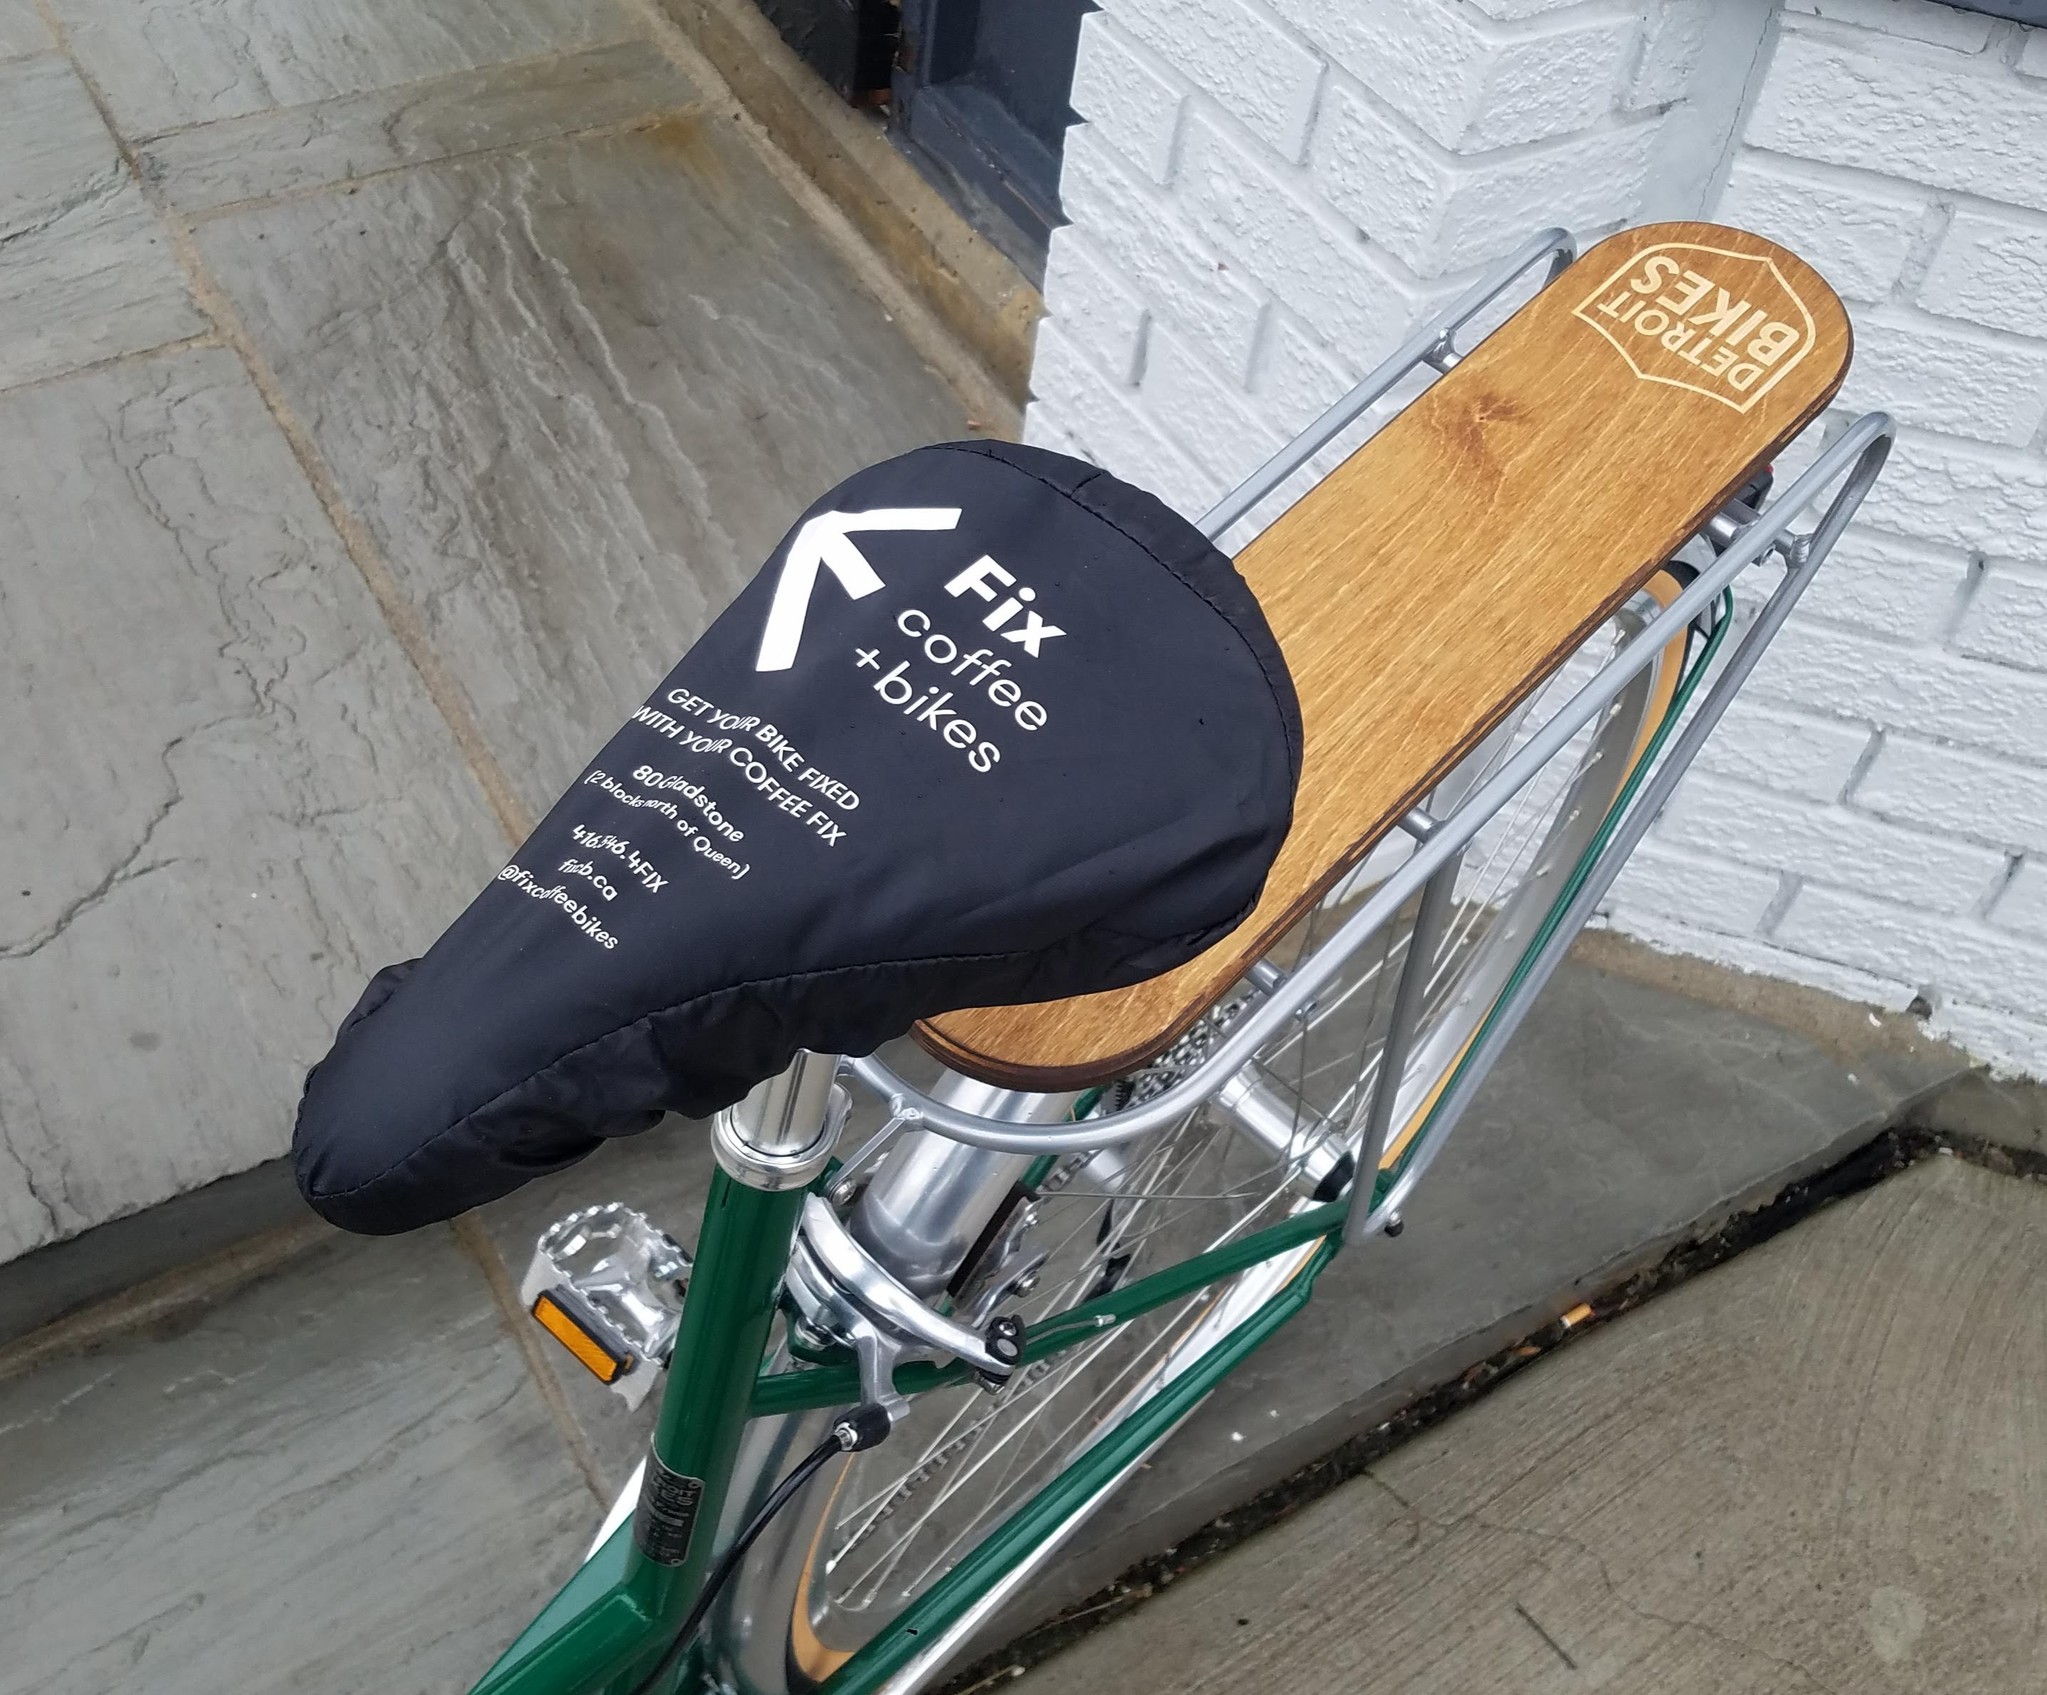
Using Lycra Or Spandex Covers
Lycra or spandex bike covers stretch to fit over the seat snugly. These covers are easy to put on and remove. They protect the seat from rain and dust. The stretchy fabric hides small tears and worn spots. You can buy these covers or make one from old clothing. Choose a bright color to make your bike stand out. This fix improves comfort and keeps the seat clean until you fix it properly.
Maintaining Your Seat Cover
Maintaining your bike seat cover extends its life and keeps it comfortable. Regular care prevents wear and tear. Simple steps help protect your seat from damage and dirt. This section covers easy cleaning tips and ways to avoid future problems.
Regular Cleaning Tips
Clean your seat cover often to remove dirt and sweat. Use a soft cloth with mild soap and water. Avoid harsh chemicals that can damage the material. Wipe gently and rinse with a damp cloth. Let the seat air dry completely before use. This prevents mold and keeps the cover fresh.
Preventing Future Damage
Protect your bike seat from the sun and rain. Use a waterproof cover when parking outside. Avoid sharp objects that may cut or tear the cover. Check for small rips early and fix them quickly. Store your bike in a dry, shaded place. These habits reduce damage and keep your seat looking new longer.
Frequently Asked Questions
How To Fix A Peeling Bike Seat?
Clean the peeling area thoroughly. Use flexible glue like Sugru for small tears. For large damage, remove the cover, patch the foam, and re-cover with new vinyl using contact cement and staples. Let the adhesive cure fully before use.
How To Fix Torn Seat Covers?
Clean the torn area thoroughly. Use flexible glue or patch tape for small tears. For large rips, remove the old cover, repair the foam, apply new vinyl, and staple tightly. Allow adhesive to cure before use.
How To Fix Your Bicycle Seat?
Clean the damaged area thoroughly. For small tears, apply flexible glue like Sugru and smooth it out. For large tears, remove the cover, repair foam if needed, attach new vinyl with contact cement, staple tightly, and trim excess. Use tape for quick temporary fixes.
How To Fix A Stuck Bike Seat?
Loosen the seat clamp with an Allen key or wrench. Apply lubricant to the seat post. Twist and pull the seat gently to free it. Tighten the clamp after adjustment. If stuck tight, use a rubber mallet to tap the post carefully.
Conclusion
Fixing your bike seat cover keeps your ride comfortable and looking good. Start by cleaning the damaged area well before applying any glue or tape. Small tears patch quickly with flexible adhesives like Sugru or Nitsu. For bigger damage, consider fully re-covering the seat with new material and staples.
Take your time to stretch and secure the new cover tightly for a smooth finish. Regular care can extend your seat’s life and save money. Keep your bike ready for every ride with a neat, repaired seat cover.
2 Responses