
How to Clean Rubber Car Floor Mats in about 30 minutes using basic household dish soap and a garden hose. The difficulty is easy, but it takes patience while scrubbing textured grooves. You must have an outdoor space with running water before you start. The exact cleaning time varies by vehicle size—check your floor mat manufacturer’s instructions for removal procedures.
Supplies for cleaning rubber mats
| Item | How much | Why it’s needed | A substitute |
|---|---|---|---|
| Liquid dish soap | 2 tablespoons | Breaks down oily road film | Dedicated car wash soap |
| Warm water | 1 gallon bucket | Helps soap foam properly | Cold garden tap water |
| Medium-nylon brush | 1 handheld brush | Reaches deep mat grooves | Household utility cleaning brush |
| Garden hose nozzle | 1 adjustable spray nozzle | Rinses dirt under pressure | High-pressure washer on low |
| Microfiber towel | 2 clean dry cloths | Dries surfaces without lint | Clean cotton shop towels |
| Floor vacuum | 1 shop or household vac | Cleans debris under mats | Small hand broom and dustpan |
Before you start
- Park your vehicle away from street traffic and turn the engine off completely.
- Remove loose coins, wrappers, and items sitting on the mats so nothing falls into the driveway.
- Unlock all factory floor retention clips carefully to avoid cracking the plastic mounts; this varies by model—check the label or floor tab design.
- Vacuum the carpet directly underneath before washing the mats to stop wet feet from tracking mud back into the cabin.
- If your vehicle has molded, hard-plastic custom floor liners rather than flexible rubber, don’t bend them sharply or they will crease permanently.
Step by step
- Lift each rubber mat straight up by its edges to keep collected dirt from spilling onto the cabin carpet.
- Shake each mat firmly outside the vehicle for 10 seconds to dislodge loose gravel, dried mud, and surface dust.
- Lay the mats flat on a clean driveway or sloped concrete surface so dirty runoff drains away.
- Spray both sides with a garden hose using high pressure for 30 seconds to knock off caked-on dirt.
- Mix 2 tablespoons of liquid dish soap into 1 gallon of warm water until suds form across the bucket.
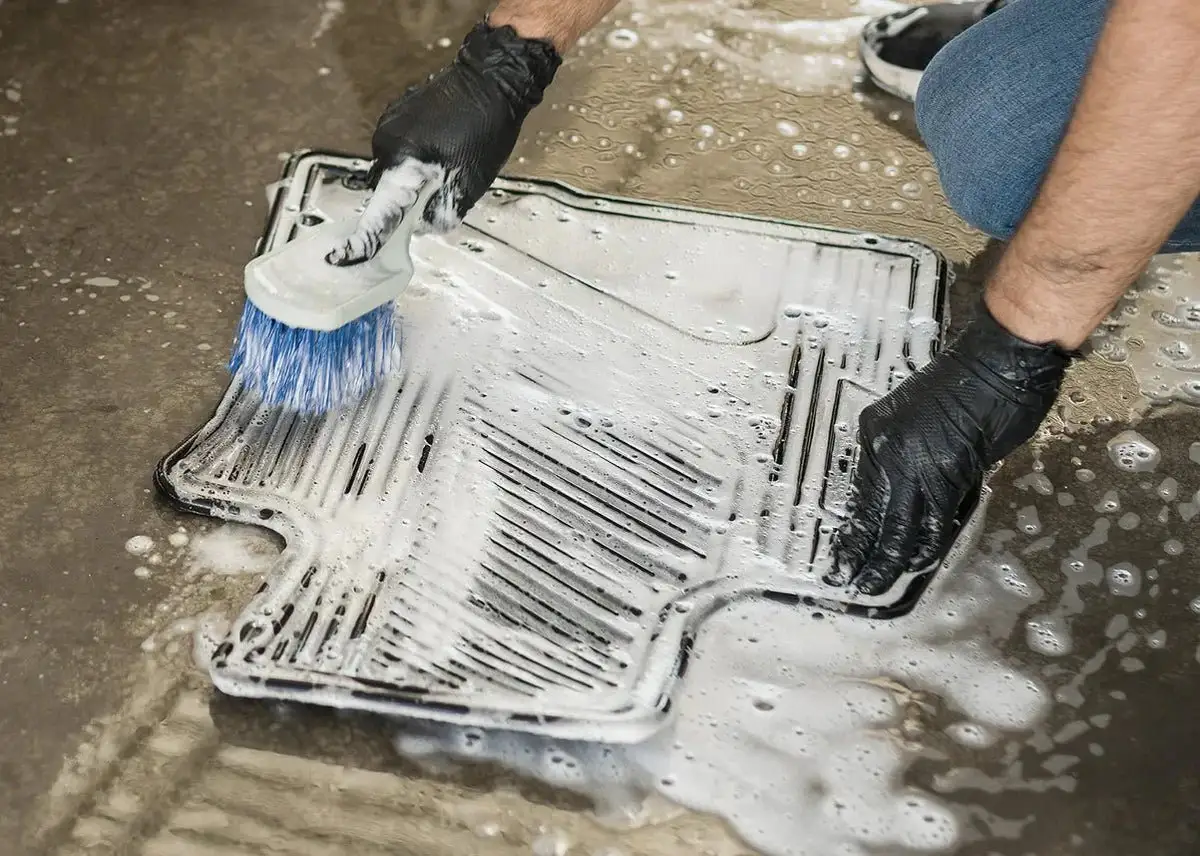
- Dip your medium-nylon brush into the suds and scrub the mat grooves in circular motions for 2 minutes per mat.
- Rinse the soap away completely with clean water from the hose for 45 seconds until no white lather remains.
- Prop the mats vertically against a wall in the sun for 20 minutes until the water drips off and the surface is dry.
- Wipe the front and back surfaces with a clean microfiber towel to catch trapped moisture inside the deep ridges.
- Reinstall the mats into the vehicle footwells, pressing down until each factory floor lock clicks firmly into place.
How to know it worked
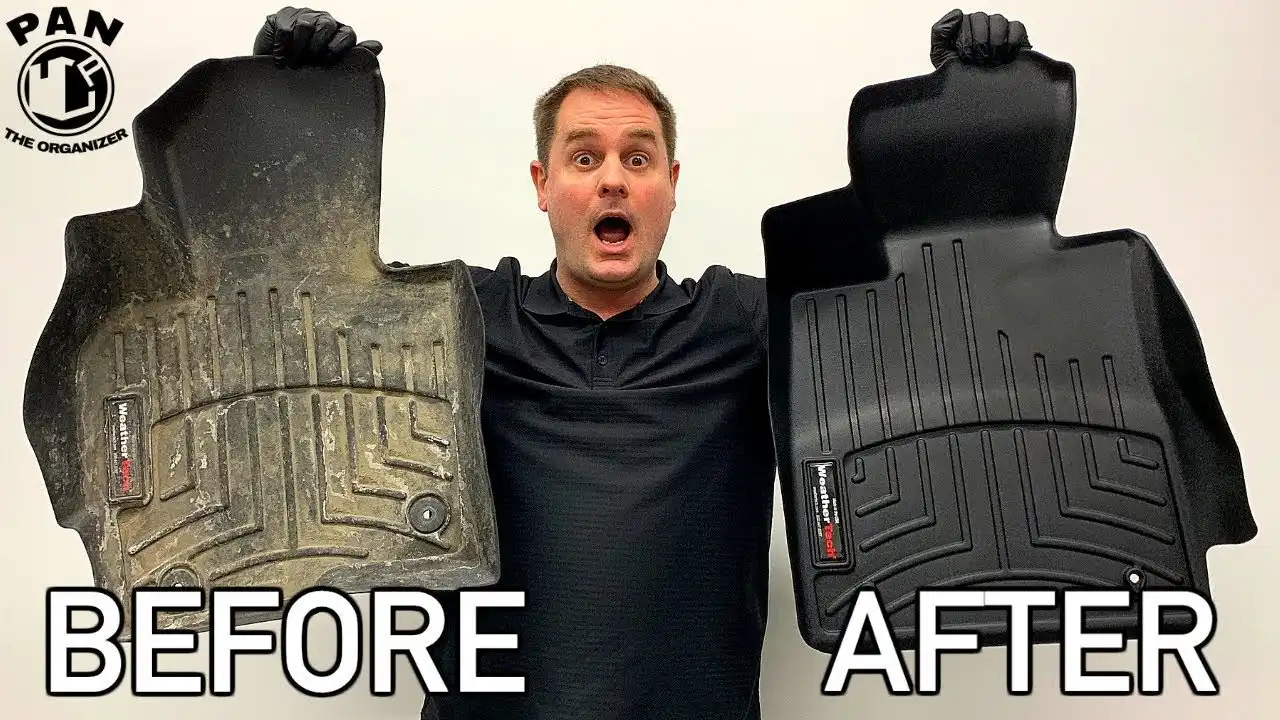
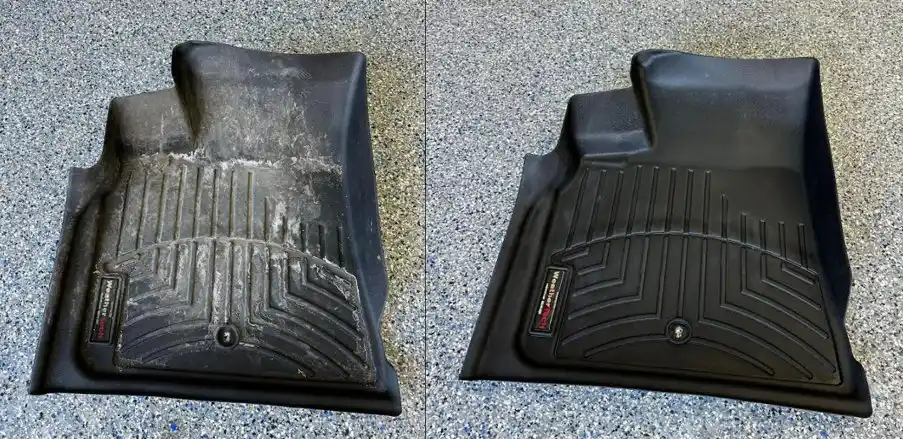
The rubber turns a uniform, matte black color with no gray soil lines left inside the corners. Run a dry white paper towel across the deepest tread channels: it should pick up zero dark grit or soapy residue. If the paper towel comes away brown, the mat needs a second round of scrubbing with fresh soapy water. The surface must feel completely dry to the touch, not slick or damp. If you use harsh silicone dressings, you face a trade-off: they create high shine, but they make the rubber dangerously slick under your shoes. You can consult the EPA safer chemical ingredients list to pick gentle, neutral cleaning agents that clean without leaving dangerous residue.
If something goes wrong
| What happened | Why | What to do |
|---|---|---|
| White haze on rubber | Soap dried before final rinse | Spray again with plain water |
| Surface feels very slippery | Harsh silicone product was applied | Wash thoroughly with warm dish soap |
| Moldy smell in car | Mats returned while still damp | Remove mats and air out carpet |
| Dirt lines remain inside grooves | Brush bristles were too soft | Use a firmer nylon utility brush |
| Mat edge curls upward | Sun heat warped thin rubber | Lay flat under weights in shade |
How often to do this
Wash your rubber floor mats regularly during standard driving conditions. Two things alter this timeline: winter weather and off-road driving. If you live in an area that uses road salt during winter, clean them frequently because dried salt crust will break down the rubber compound over time. If your commute includes dirt roads or worksites, wash them whenever grit covers the foot grip ridges. If mud accumulates heavily, clean them immediately; if there’s only light dust, a quick hose spray as part of your usual clean is enough.
Frequently asked questions
Can I clean rubber mats with bleach?
No, never apply chlorine bleach to your rubber floor mats. Bleach strips the natural protective oils from the rubber compound, which causes drying, cracking, and chalky discoloration. Simple liquid dish soap mixed with tap water lifts oils and soil safely without degrading the material.
Can you put rubber car mats in the washing machine?
No, you should never place heavy rubber mats inside a household clothes washer. The thick weight throws modern washer drums off balance, and the stiff edges can damage the appliance walls. Wash them flat on a clean driveway instead.
Why do my rubber mats look dull after washing?
Dull, gray tones happen when mineral deposits from hard tap water or evaporated soap residue dry on the textured surface. Wipe them down immediately after the final rinse using a microfiber towel to lift surface minerals before the moisture evaporates in the sun.
How long does it take for rubber car mats to dry?
About 20 minutes under direct outdoor sunlight when propped upright on a warm day. Drying takes closer to 60 minutes if the weather is humid, overcast, or cold. Always pat the deep rubber channels with a clean microfiber cloth before placing them inside the vehicle.
Is it safe to use tire shine on car mats?
No, applying silicone tire shine or oily dressings to floor mats is dangerous. These gloss products form a slick film that causes your shoes to slip off the brake, clutch, or gas pedals while driving. Keep rubber surfaces clean and completely bare.
What happens if I put mats back while wet?
Moisture trapped between the underside of the rubber mat and your vehicle carpet quickly triggers mold, mildew, and foul cabin smells. If left damp for several days, this trapped condensation can soak the padding underneath the carpet, which costs hours of hot vacuum drying to fix.
Final Thoughts
Once your mats are completely dry, slide them back into place to keep your interior looking fresh. Don’t forget to check under the pedals to ensure they’re locked securely. You’ll be glad you took the time to do this, as it’s a simple way to keep your car’s floors protected for years.